

mGuide Pellegrino Easy
Instructions
TC-18SG | TC-36SG | TC-54SG
mGuide Pellegrino Easy User Manual
1. Interface
Transmitter (Tx) / Receiver (Rx)
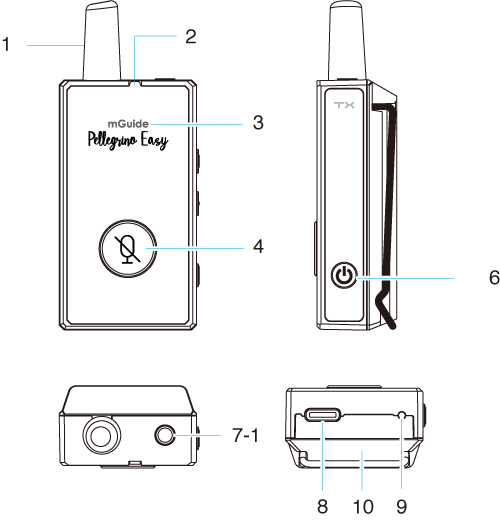
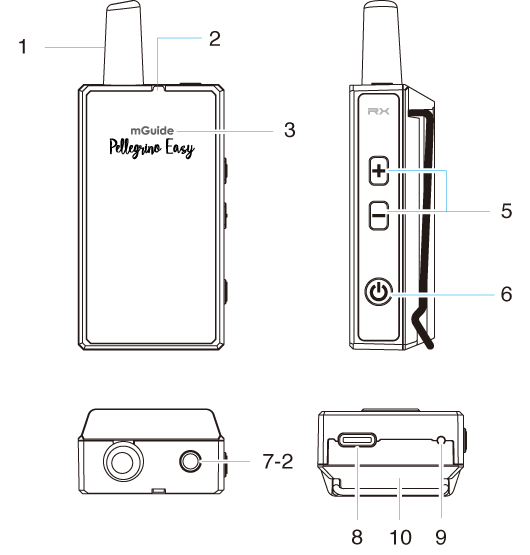
- Antenna
- Battery Indicator
- System Status Indicator
- Talk / Mute Button
- Headphone Volume Control
- Power Button
- Connectors:
- 7-1. Microphone Jack
- 7-2. Headphone Jack
- USB-C Charging Port
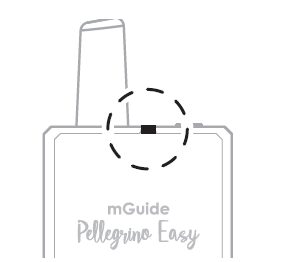
- Forced Shutdown Button
- Battery Compartment
2. Connecting Microphone or Headphones
Connect the microphone to the 3.5 mm jack on the transmitter, and the headphones to the 3.5 mm jack on the receiver. Ensure that the connectors are properly inserted.
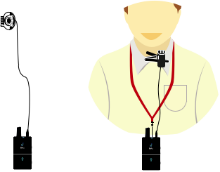
The transmitter is equipped with a built-in microphone.
3. Adjusting Volume
Pressing the - or + button decreases or increases the headphone volume.
4. Automatic Interference-Free Frequency Scanning
The mGuide Pellegrino Easy series features a built-in automatic clean frequency scanning function that operates continuously to avoid interference and requires no additional action.
5. Status and Light Indicator Description
|
Device |
System Status Indicator |
Status Description |
Operation Method |
|---|---|---|---|
|
- |
|
Device On |
Press the side power button ⏻. |
|
Transmitter (Tx) |
|
Microphone Muted |
Press the mute button briefly to mute. Press again to enable the microphone. |
|
Receiver (Rx) |
|
No Transmitter Signal Received |
Ensure that the transmitter is on and the receiver is paired with it. |
 Blue
Blue Slow Flashing Blue
 Fast Flashing Blue
⚠ Note
The transmitter will automatically turn off after 20 minutes of muting, and the receiver will automatically turn off after approximately 20 minutes without receiving a signal.
6. Battery Level and Charging
- Charge the battery using a certified USB-C travel charger or an appropriate charging station.
- The transmitter or receiver will automatically turn off during charging. If you wish to use the system while charging, simply press the power button again to turn it back on.
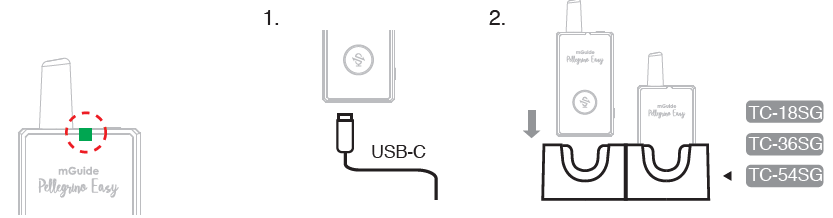
Charge Status
|
Battery Indicator Color |
Status / Battery Percentage |
|---|---|
|
During Use |
|
|
No LED Light |
> 30% |
|
Red LED Light |
10% |
|
During Charging |
|
|
Green LED Light |
Fully Charged |
|
Red LED Light |
Charging in Progress |
7. Group Pairing
The Group Pairing function allows one or more receivers to join an existing group or create a new group. Within the same group, the frequencies and audio of receivers and transmitters will be synchronized.
How to pair a receiver with a transmitter?
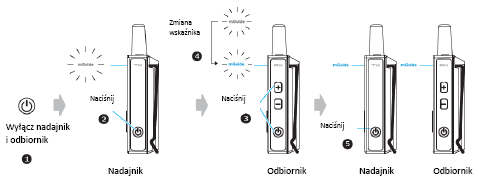
- First, turn off the transmitter and receiver.
- Transmitter: Press the ⏻ and + buttons simultaneously until the purple LED starts flashing.
- Receiver: Press the ⏻ and + buttons simultaneously; the purple LED will start flashing and searching will begin. After connecting to the transmitter, the LED will start flashing blue.
- Ensure that all receivers have completed searching (flashing blue).
- Press the ⏻ button on the transmitter. The transmitter and receiver indicators will light up blue, and group pairing will be complete.
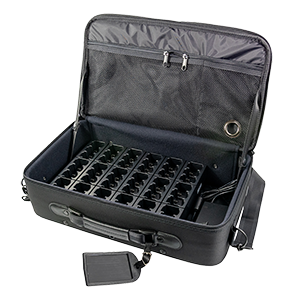
TC-18SG | TC-36SG | TC-54SG — Charging Bag
|
Model |
Product Name |
Application |
|---|---|---|
|
TC-18SG |
Bulk Charger for 18 Devices |
mGuide Pellegrino Easy |
|
TC-36SG |
Bulk Charger for 36 Devices |
mGuide Pellegrino Easy |
|
TC-54SG |
Bulk Charger for 54 Devices |
mGuide Pellegrino Easy |
1. Charging Instructions
1. As shown in the diagram, connect the included adapters to the DC socket and the power socket in the charging bag, respectively.
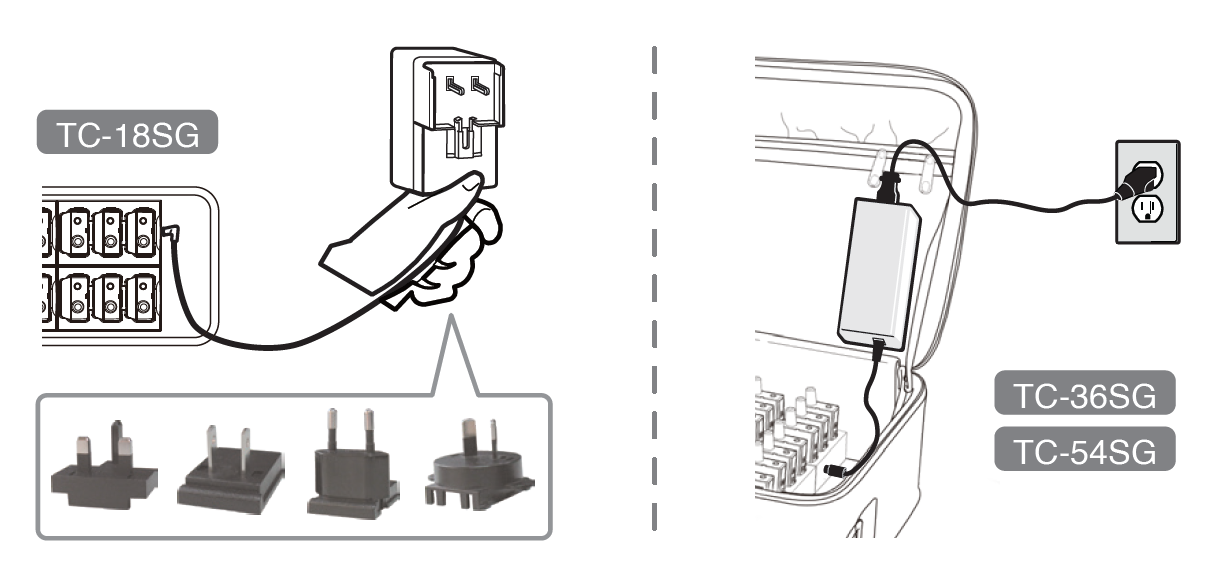
⚠ Note
The charger may heat up during use. Ensure that it is not covered or obstructed by any objects.
Turn off the transmitter and receiver, then insert them into the charging slots as illustrated. The battery charge indicator will light up.
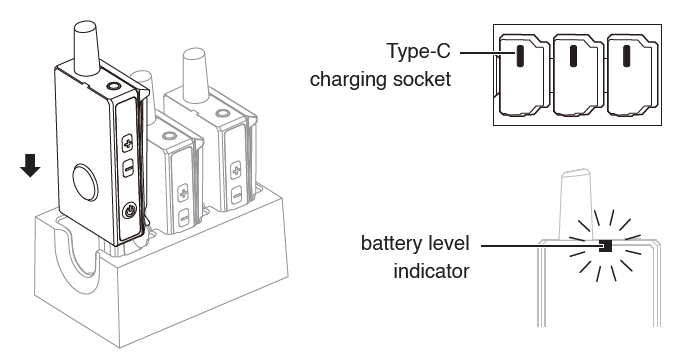
3. Battery Status Indicator
|
Charging in Progress |
|
|---|---|
|
Solid Green Light |
100% |
|
Flashing Green Light |
> 60% |
|
Solid Red Light |
0 – 60% |
2. Group Pairing Using a Transmitter Placed in the Charger
Step 1: Insert the receivers into the charger
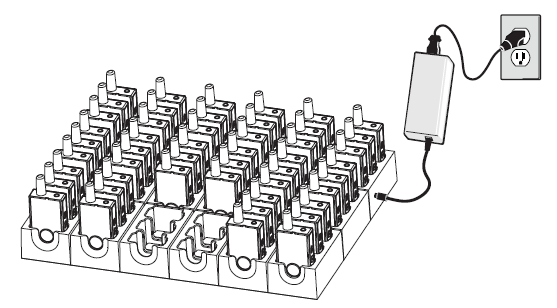
⚠ Note
If the indicator does not light up or start flashing, it means that pairing has failed. Check whether the receiver has been fully and properly inserted into the charging slot, then repeat the above steps.
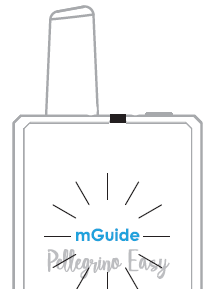
Step 2: Turn on the transmitter by pressing the power button ⏻. The "mGuide" indicator will light up.
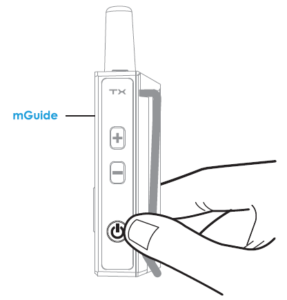
Step 3: Insert the powered-on transmitter into any empty charging slot.
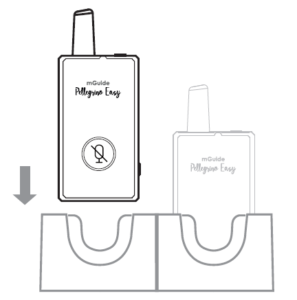
Step 4: During group pairing, the battery charge indicators and the "mGuide" indicator on all devices will start flashing alternately (fast flashing red and green, 5 times).
Step 5: Receiver: After pairing is complete, the "mGuide" indicator on the receiver will turn off. The power indicator will remain solid, indicating that the device is in charging mode.
Transmitter: The "mGuide" indicator will remain lit for 5 minutes, after which the transmitter will turn off and enter charging mode.