


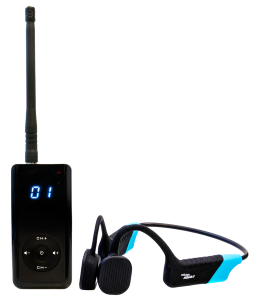
mGuide AQUA
Instructions
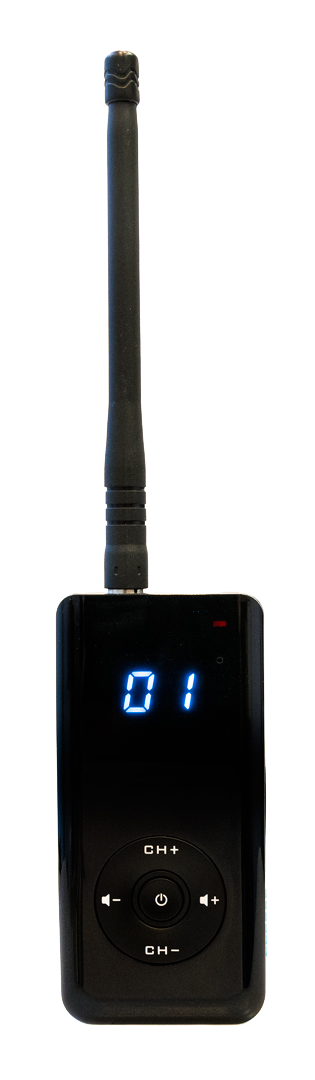
mGuide AQUA T
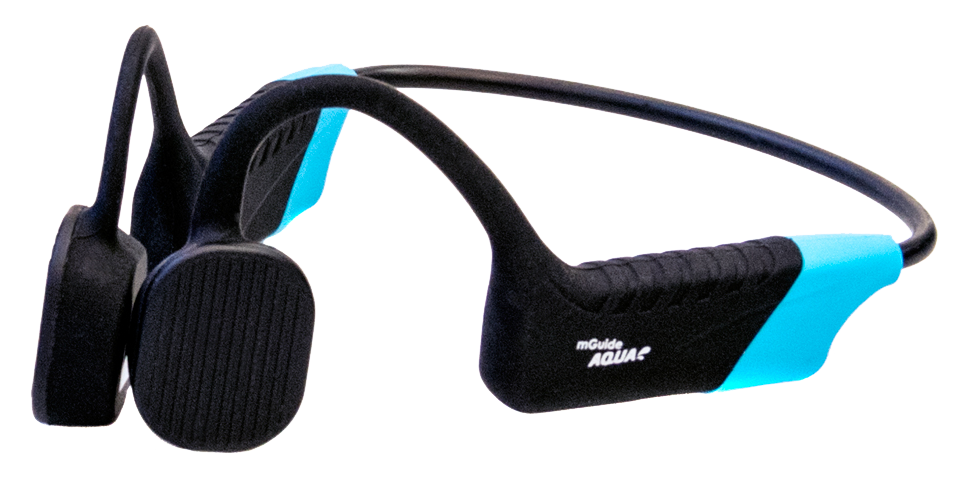
mGuide AQUA R
mGuide AQUA T Transmitter
Safety Precautions
To use the transmitter safely and effectively, please read the following information:
- The transmitter may only be repaired by professional technicians. Do not attempt to repair it yourself.
- To avoid electromagnetic interference or electromagnetic compatibility issues, turn off the transmitter wherever radio communication is prohibited, such as on an airplane, in a hospital, or in a healthcare facility.
- When using the transmitter in a car with an airbag, do not place the transmitter in the airbag deployment area.
- Turn off the device before entering a flammable environment.
- Do not charge the battery in flammable environments or those with an increased risk of explosion.
- A damaged antenna may cause minor burns if it comes into contact with skin. If this happens, stop using the transmitter immediately.
- Before using the product, install the antenna correctly. If the antenna is not installed, the transmitter may be damaged during transmission.
- Hold the device perpendicular to the ground and keep the microphone approximately 5 cm from your mouth.
- When wearing the transmitter, keep the antenna as far away from your body as possible for better performance.
1. Package Contents
Please open the package carefully and find the items listed below. If any item is missing or damaged, contact your dealer.
1.1. Accessories
|
Item |
Quantity |
|---|---|
|
Main Unit (Transmitter) |
1 |
|
Power Adapter |
1 |
|
Antenna |
2 |
|
Microphone |
1 |
|
Magnetic Charging Cable |
1 |
|
Silicone Wrist Strap |
1 |
|
Belt Clip Cap |
1 |
2. Using the Battery
2.1 Battery Precautions
- When the battery is depleted or has not been used for a long time, charge it before use.
- After two or three charge-discharge cycles, the ideal battery capacity can be achieved. When the battery is low, charge or replace it.
⚠ Important
- Do not throw the battery into fire.
- When charging the included battery, turn off the device before charging so that it can be fully charged.
- Continuous charging shortens battery life. Disconnect the charging cable when charging is not needed. For example, when the battery is fully charged, disconnect the charger in time. Do not leave the device unnecessarily connected to charging.
- When the ambient temperature is higher than 35 ℃ or lower than -10 ℃, the battery capacity may be reduced, which depends on the physical properties of the lithium battery. The optimal ambient temperature is around 25 ℃.
2.2 Charging the Battery
- Connect the power adapter to a wall outlet.
- Connect the magnetic charging cable to the charging port on the receiver.
- The blue indicator light turns on. Charging begins.
- After charging for about 4 hours, the blue light turns off and the green light turns on. The battery is fully charged.
- Continue charging for 1 to 2 hours, then disconnect the charging cable. Now the battery performance reaches its best.
- Remove the power adapter.
⚠ Important
- The battery is delivered uncharged. Charge it before first use.
- Turn off the receiver before charging.
- When the battery is charged for the first time or has not been used for more than 2 months, charge it several times for it to function normally.
- To maintain battery capacity, charge the battery at least once every three months.
- When the battery capacity is full or exceeds the low battery alarm trigger level, do not charge the battery to ensure its lifespan and performance.
- When the transmitter enters a low power state, fully charge the battery before turning it on again to ensure battery life and performance.
3. Installing Accessories
3.1 Antenna Installation / Removal
- To install the antenna, connect the threaded end to the antenna cap and screw the antenna clockwise until you feel resistance.
- To remove the antenna, turn it counter-clockwise.
3.2 Installing the Microphone
To use an external microphone, align it with the external interface of the transmitter and turn the screw clockwise to secure the microphone connector.
4. Appearance
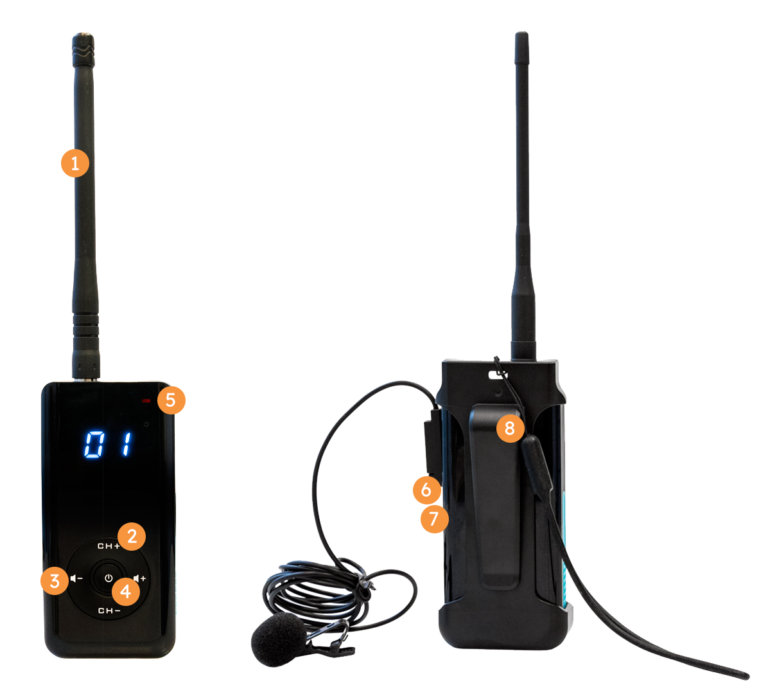
- Antenna
- CH+ and CH- buttons (channel selection)
- 🔈︎+ and 🔈︎− buttons (transmitter volume adjustment). The higher the number, the louder the sound received by the receiver.
- Power/PTT button - Hold this button for 5 seconds to turn the transmitter on/off.
Briefly press the power button. A flashing dot will appear below each digit on the display. Transmission will stop when you press the power button again, the dots will stop flashing, and then transmission will resume.
- LED Indicator
- Red LED: signal transmission;
- Flashing red LED: low battery;
- Blue LED: charging in progress;
- Green LED: Charging complete.
6. Microphone - Audio input.
7. External Interface - For charging or connecting to an external microphone.
8 Belt Clip
5. Basic Operation
5.1 Power On / Off
- Hold the power button for 5 seconds to turn on the transmitter. The LED will light up red, and the current channel number will appear on the display.
- Hold the power button for 5 seconds to turn off the transmitter. The LED indicator and display will turn off.
5.2 Channel Selection
- When the transmitter is on, press the CH+ or CH- button to select a channel.
- The selected channel number will appear on the display.
5.3 Volume Adjustment
- Press the 🔈︎+ or 🔈︎− button to select the volume level (from 00 to 11).
- The selected value will appear on the display.
6. Troubleshooting
6.1 Power Failure
Reason 1: Depleted battery.
Solution: Charge the battery.
Reason 2: Buttons not working properly.
Solution: Contact your dealer.
6.2 Low Voice
6.3 Communication Failed
Reason 1: Incorrect channel settings
Solution: Modify channel settings and try again.
Reason 2: You are out of transmitter range.
Solution: Reduce the distance.
mGuide AQUA R Receiver
Safety Precautions
To use the receiver safely and effectively, please read the following information:
- The receiver may only be repaired by professional technicians. Do not attempt to repair it yourself.
- To avoid electromagnetic interference or electromagnetic compatibility issues, turn off the receiver wherever radio use is prohibited, such as on an airplane, in a hospital, or in a healthcare facility.
- When using the receiver in a car with an airbag, do not place the receiver in the airbag deployment area.
- Turn off the device before entering a flammable environment.
- Do not charge the battery in flammable environments or those with an increased risk of explosion.
1. Package Contents
Please open the package carefully and find the items listed below. If any item is missing or damaged, contact your dealer.
1.1. Accessories
|
Item |
Quantity |
|---|---|
|
Main Unit (Receiver) |
1 |
|
Power Adapter |
1 |
|
Magnetic Charging Cable |
1 |
2. Using the Battery
2.1 Battery Precautions
- When the battery is depleted or has not been used for a long time, charge it before use.
- After two or three charge-discharge cycles, the ideal battery capacity can be achieved. When the battery is low, charge or replace it.
⚠ Important
- Do not throw the battery into fire.
- When charging the included battery, turn off the device before charging so that it can be fully charged.
- Continuous charging shortens battery life. Disconnect the charging cable when charging is not needed. For example, when the battery is fully charged, disconnect the charger in time. Do not leave the device unnecessarily connected to charging.
- When the ambient temperature is higher than 35 ℃ or lower than -10 ℃, the battery capacity may be reduced, which depends on the physical properties of the lithium battery. The optimal ambient temperature is around 25 ℃.
2.2 Charging the Battery
- Connect the power adapter to a wall outlet.
- Connect the magnetic charging cable to the charging port on the receiver.
- The blue indicator light turns on. Charging begins.
- After charging for about 4 hours, the blue light turns off and the green light turns on. The battery is fully charged.
- Continue charging for 1 to 2 hours, then disconnect the charging cable. Now the battery performance reaches its best.
- Remove the power adapter.
⚠ Important
- The battery is delivered uncharged. Charge it before first use.
- Turn off the receiver before charging.
- When the battery is charged for the first time or has not been used for more than 2 months, charge it several times for it to function normally.
- To maintain battery capacity, charge the battery at least once every three months.
- When the battery capacity is full or exceeds the low battery alarm trigger level, do not charge the battery to ensure its lifespan and performance.
- When the transmitter enters a low power state, fully charge the battery before turning it on again to ensure battery life and performance.
3. Appearance
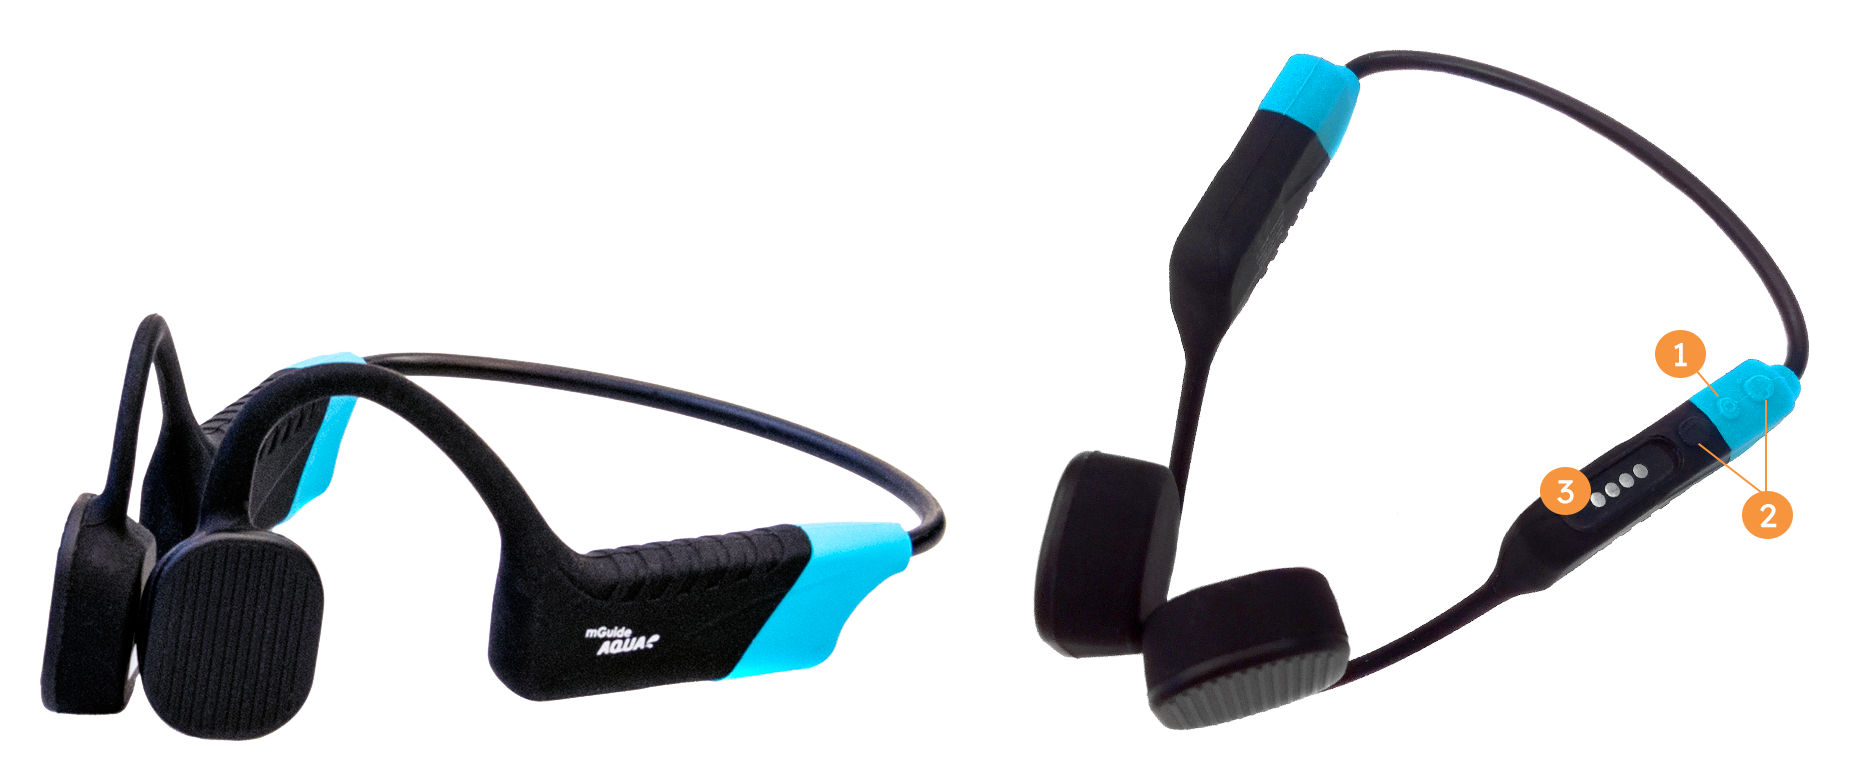
- Power button - Hold this button for 5 seconds to turn the receiver on/off.
- (+) and (-) buttons - Press the button to adjust the receiver volume. Hold the buttons to switch channels.
- Magnetic charging connector
4. Basic Operation
4.1 Power On/Off
- Hold the power button for 5 seconds to turn on the receiver.
- Hold the power button for 5 seconds to turn off the receiver.
4.2 Channel Selection
- Hold the + or - button to select a channel.
- To confirm the change, a voice announcement of the selected channel number will be heard.
4.3 Volume Adjustment
- Press the + or - button to select the volume level.
- To confirm the volume level change, an audible signal will be heard.
4.4 Signal Reception
The receiver can communicate with the transmitter when they operate on the same channel. Voice is sent by the transmitter and received by the receiver.
5. Troubleshooting
5.1 Power Failure
Reason 1: Depleted battery.
Solution: Charge the battery.
Reason 2: Buttons not working properly.
Solution: Contact your dealer.
5.2 Low Voice
5.3 Communication Failed
Reason 1: Incorrect channel settings
Solution: Modify channel settings and try again.
Reason 2: You are out of transmitter range.
Solution: Reduce the distance.